

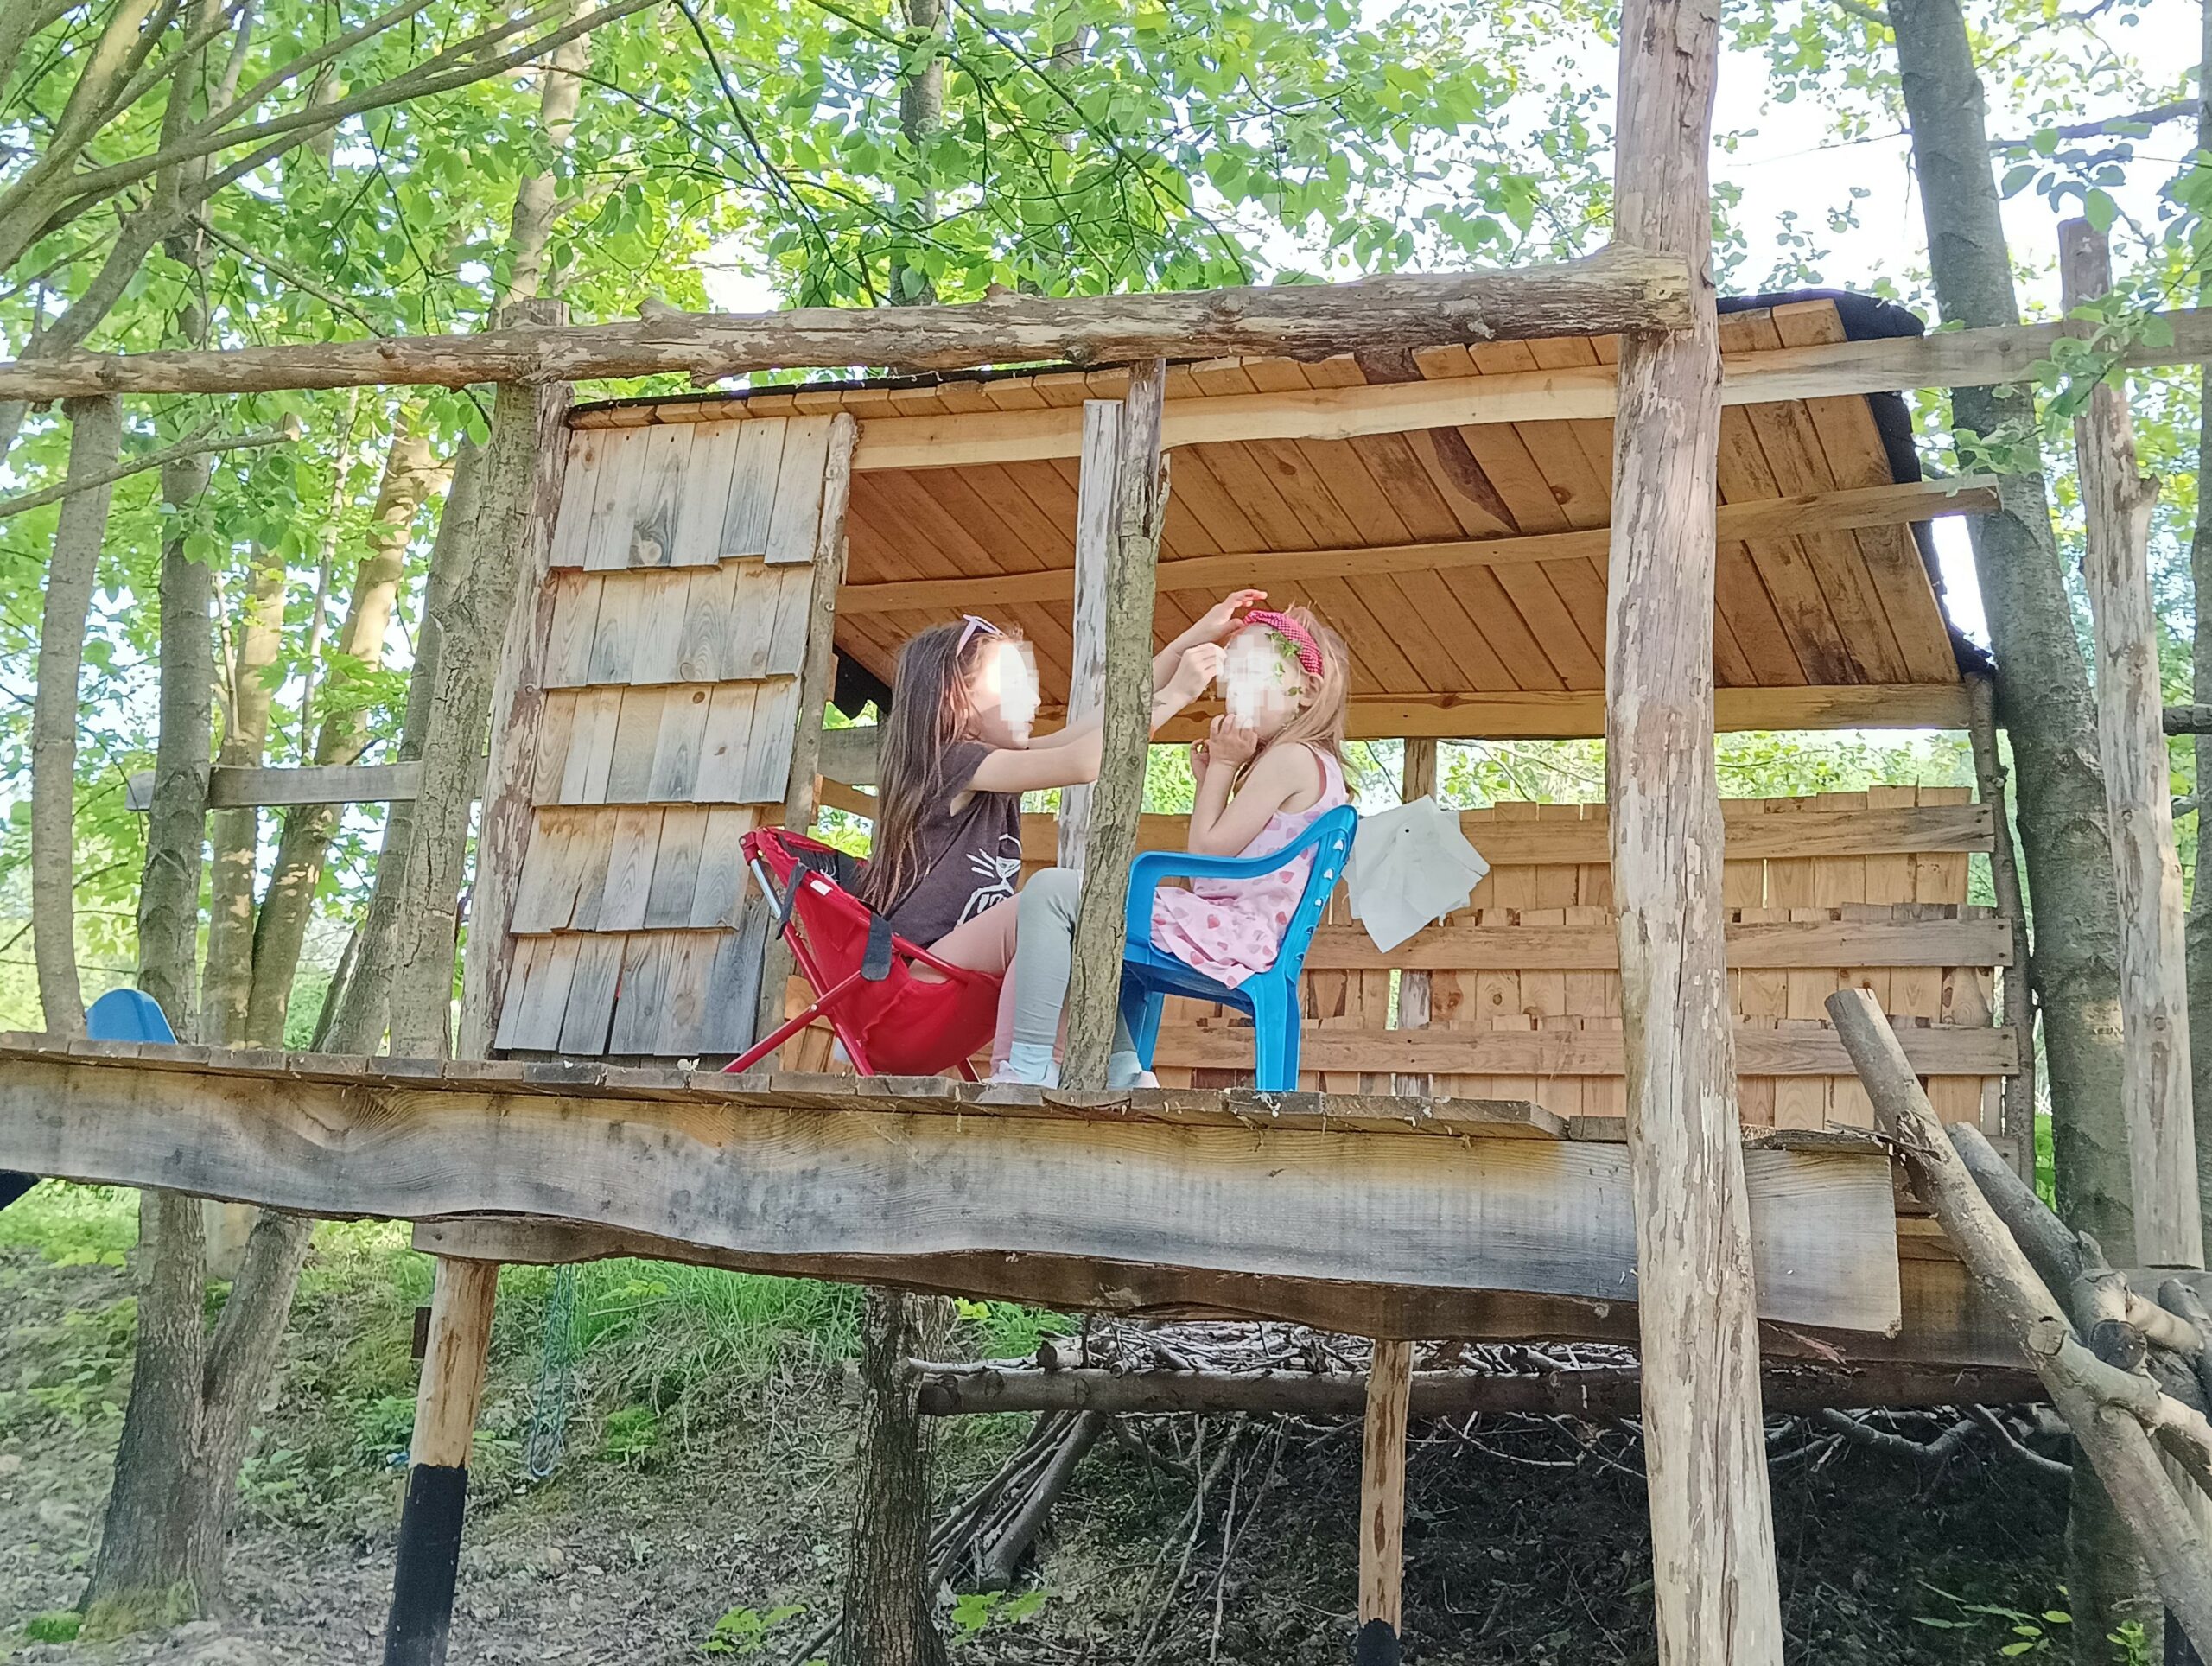
Since the plot is meant to be a place for the whole family, the kids also needed something just for themselves. They had been asking for a treehouse for a while, so we finally decided it was time to make their dream come true.
We walked around the plot and chose three trees growing right next to the new access road. They were positioned in such a way that it was easy to imagine a rectangular structure fitting in perfectly. From the start, we wanted to use as many materials from the land as possible — no unnecessary buying or producing, just making use of what we had.
Materials from the Land and the Sawmill
Luckily, we had to cut down a few young trees that were in the way of the planned driveway. They were small enough that no permits were needed. Instead of wasting them, we gave them a second life — we stripped the bark and painted the parts that would go underground with a special protective paint. Only three additional posts were needed for stability.
We also went with the kids to a local sawmill, where we bought planks made from offcuts left over from producing euro pallets. It was not only cheaper but also an environmentally friendly solution. The children enjoyed the trip too, watching how a sawmill works and helping to pick the boards.
Building and Finishing
The treehouse was built in stages. From the beginning, we knew it had to have a roof — a perfect solution in case of rain, giving the kids a place to hide. Later on, we added a few partial walls to help block the wind.
For the roof, we used shingles that happened to be on sale at the local building supply store. The final effect was even better than we expected — the house looks both solid and cozy.
As a bonus, our neighbor gifted us an old slide that he had also gotten second-hand. Instead of ending up in the landfill, it found a new life attached to our treehouse, which made the kids extra happy.
The Result
In the end, the project turned out really well — a simple, eco-friendly treehouse made almost entirely from repurposed materials. Now we can only hope the kids will want to spend plenty of time there and that it becomes their favorite spot on the plot.
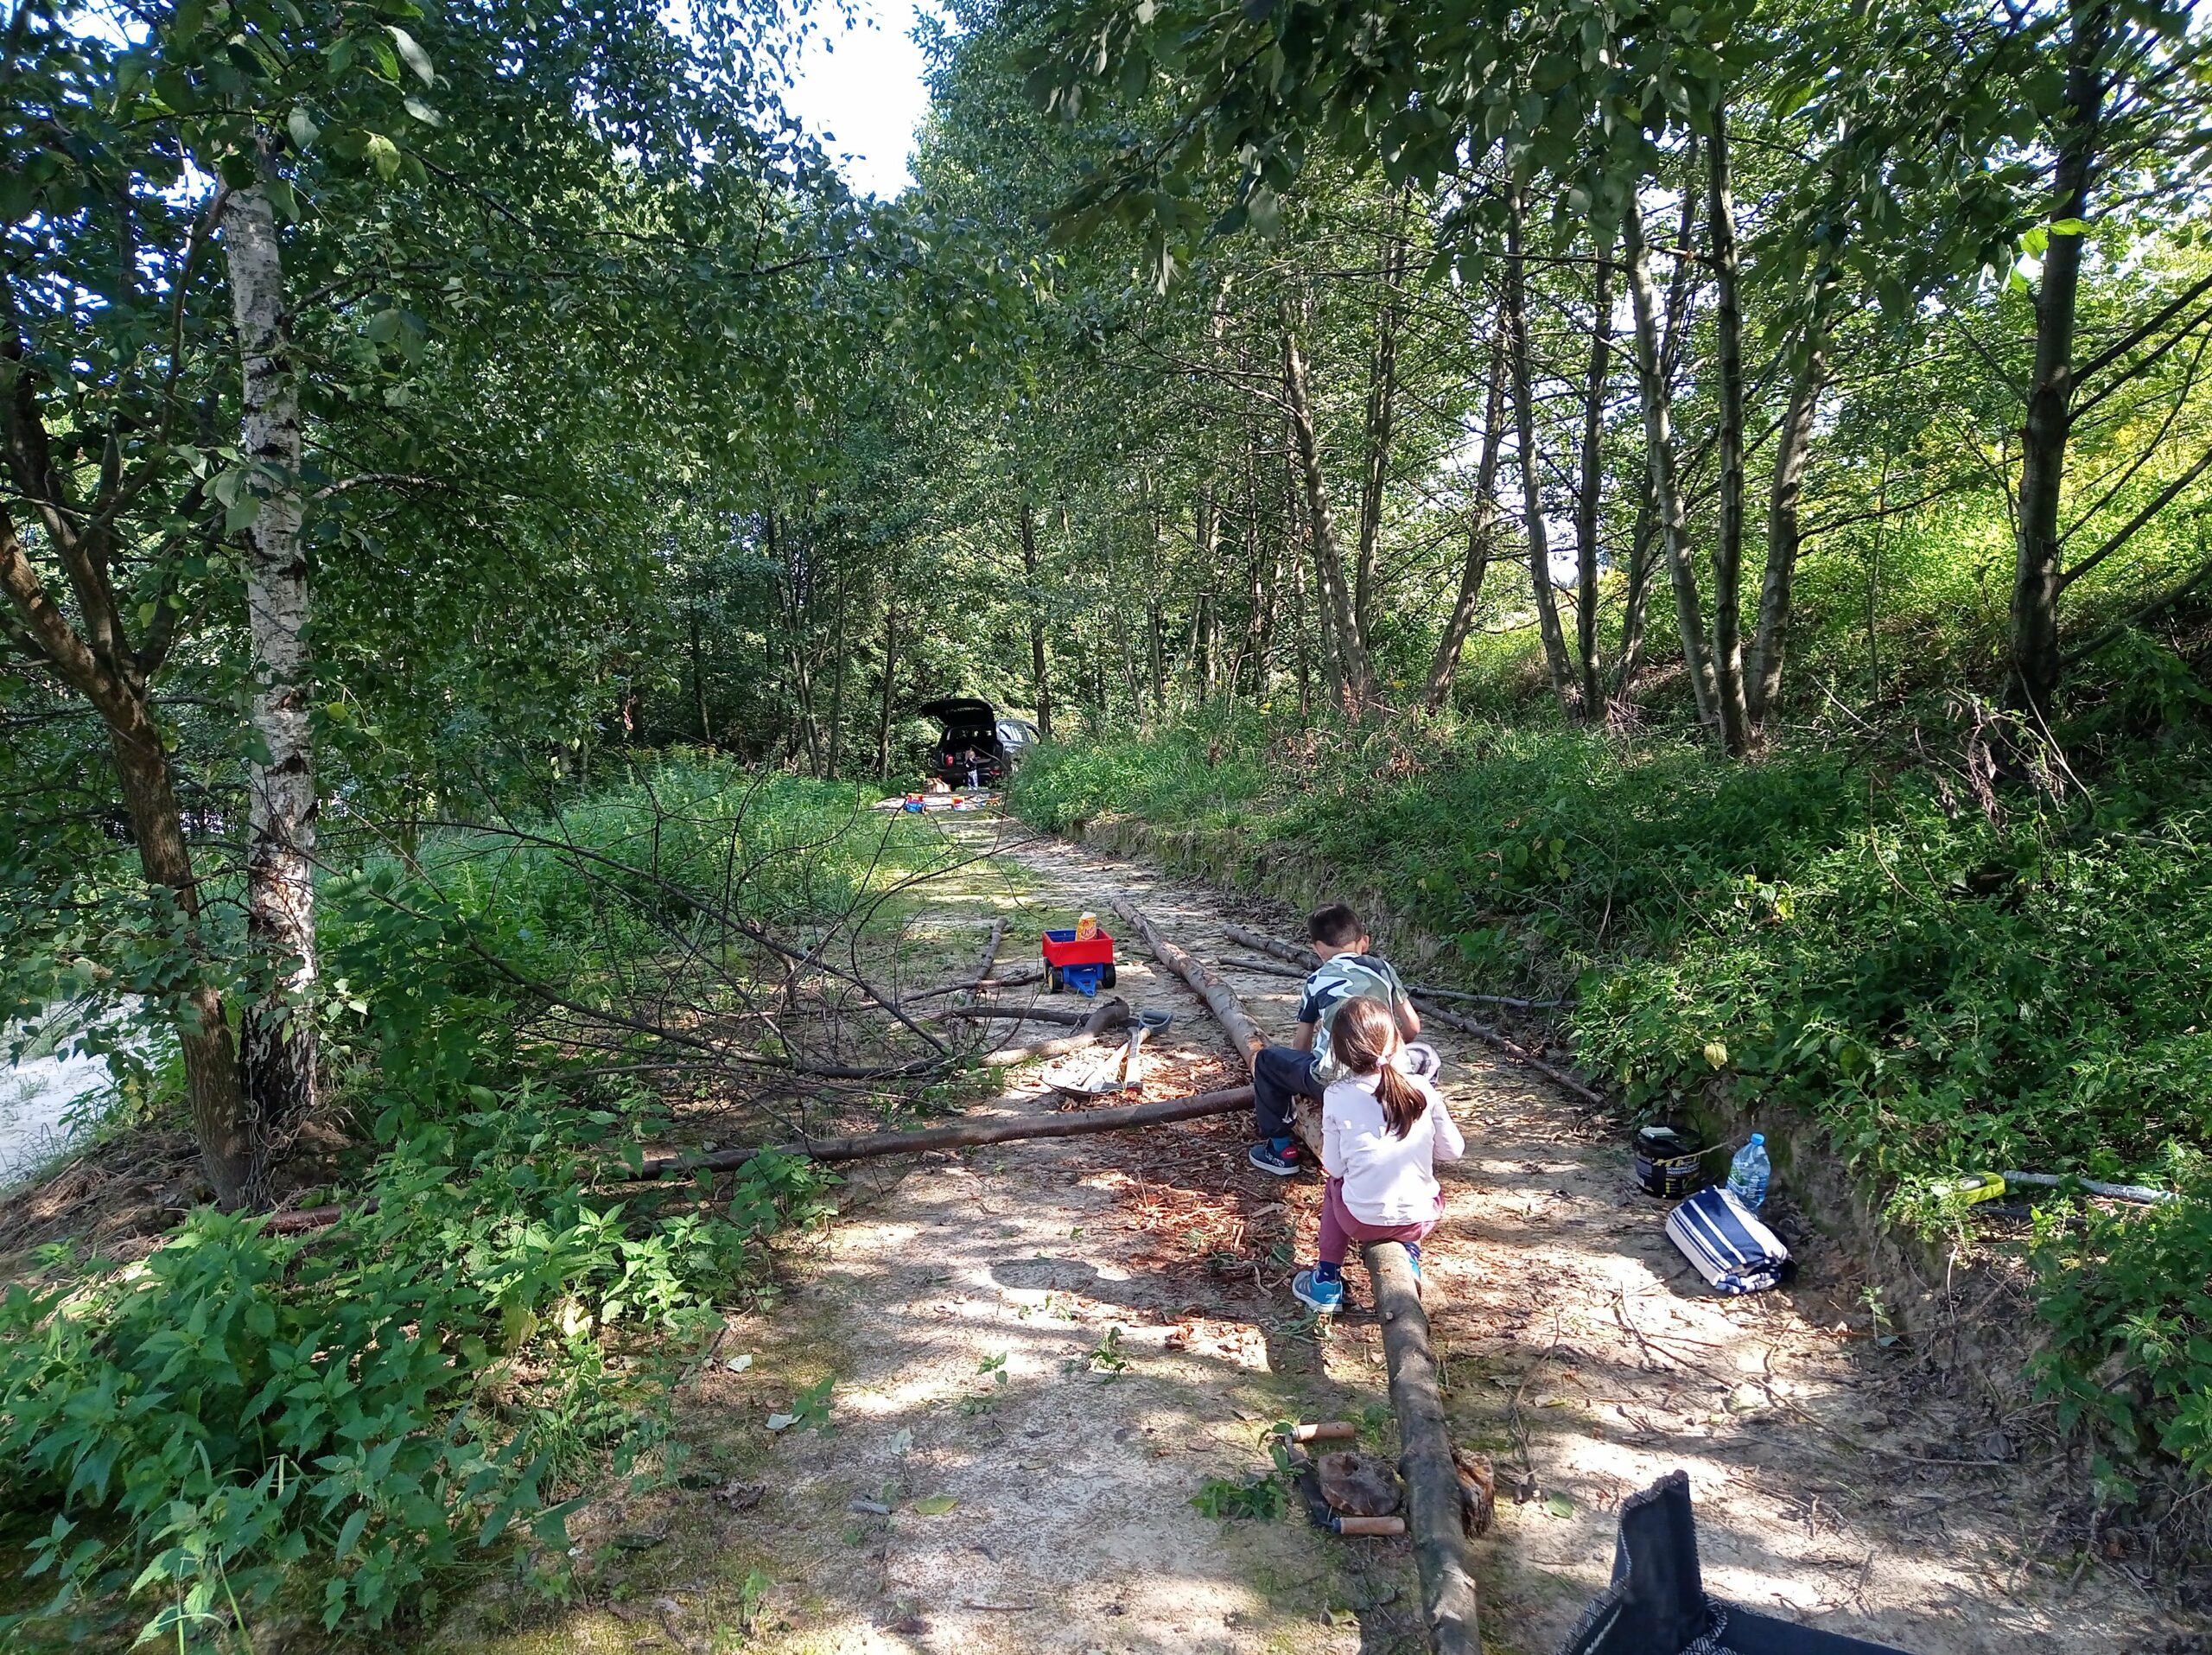
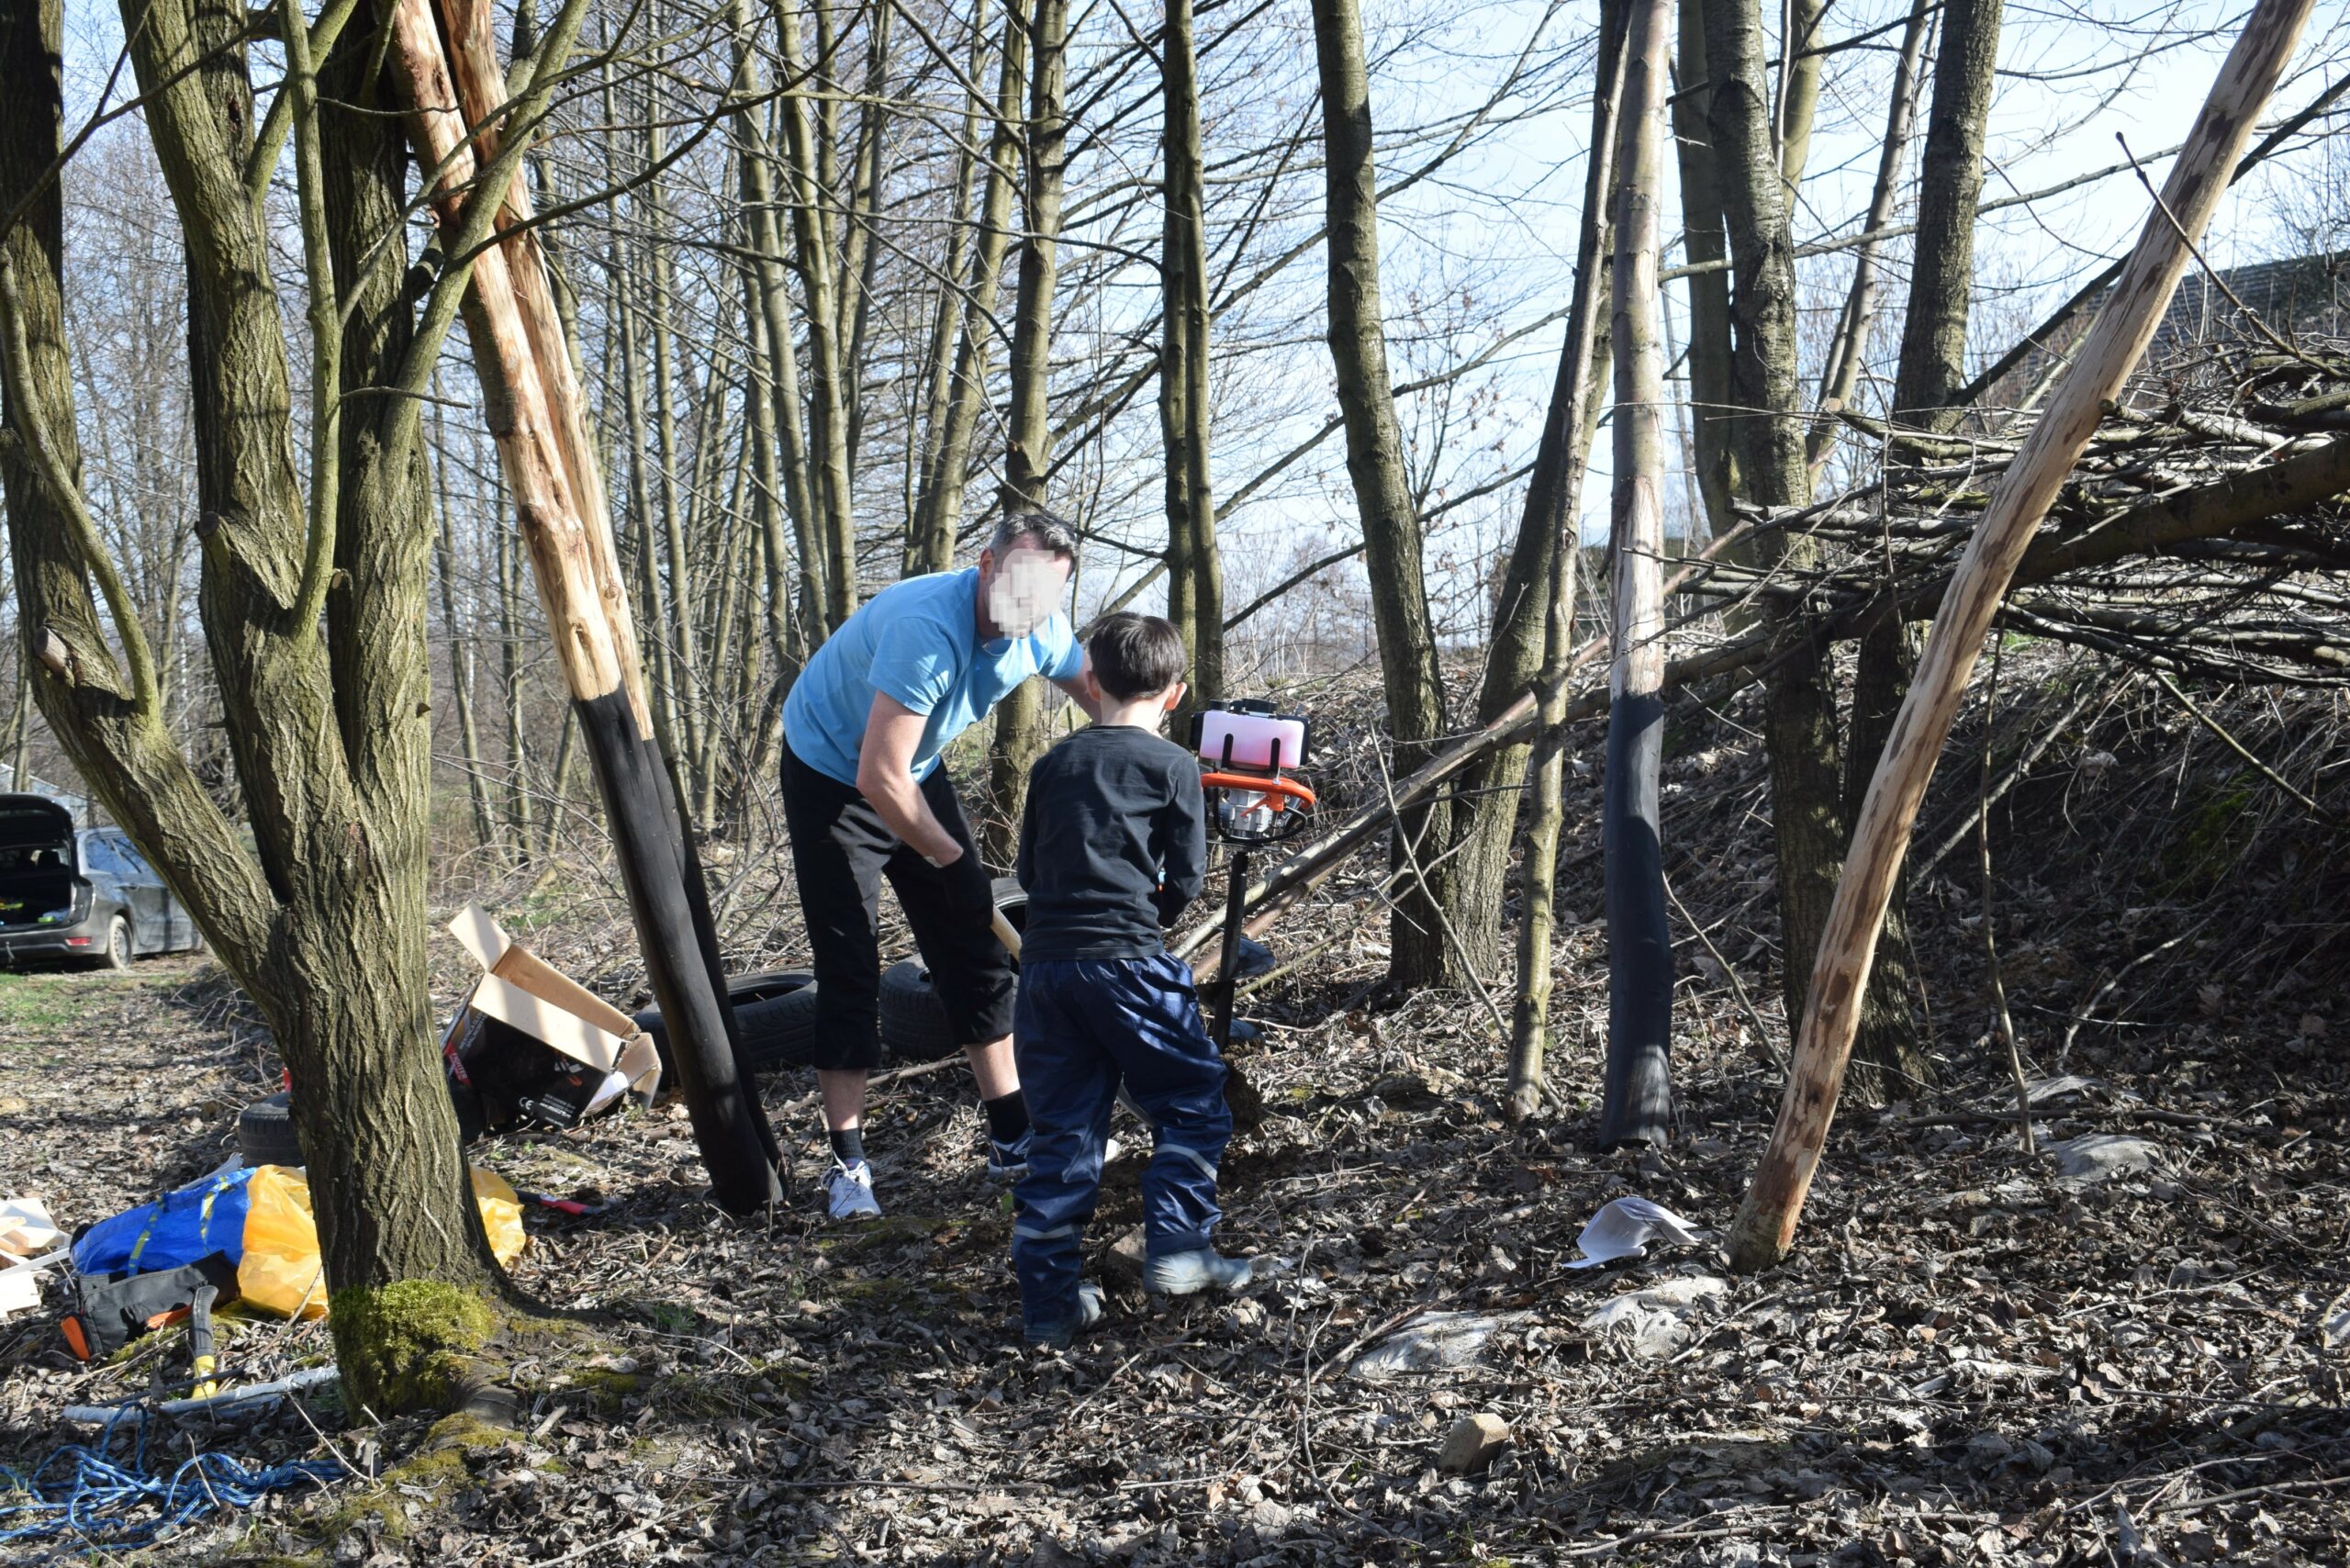
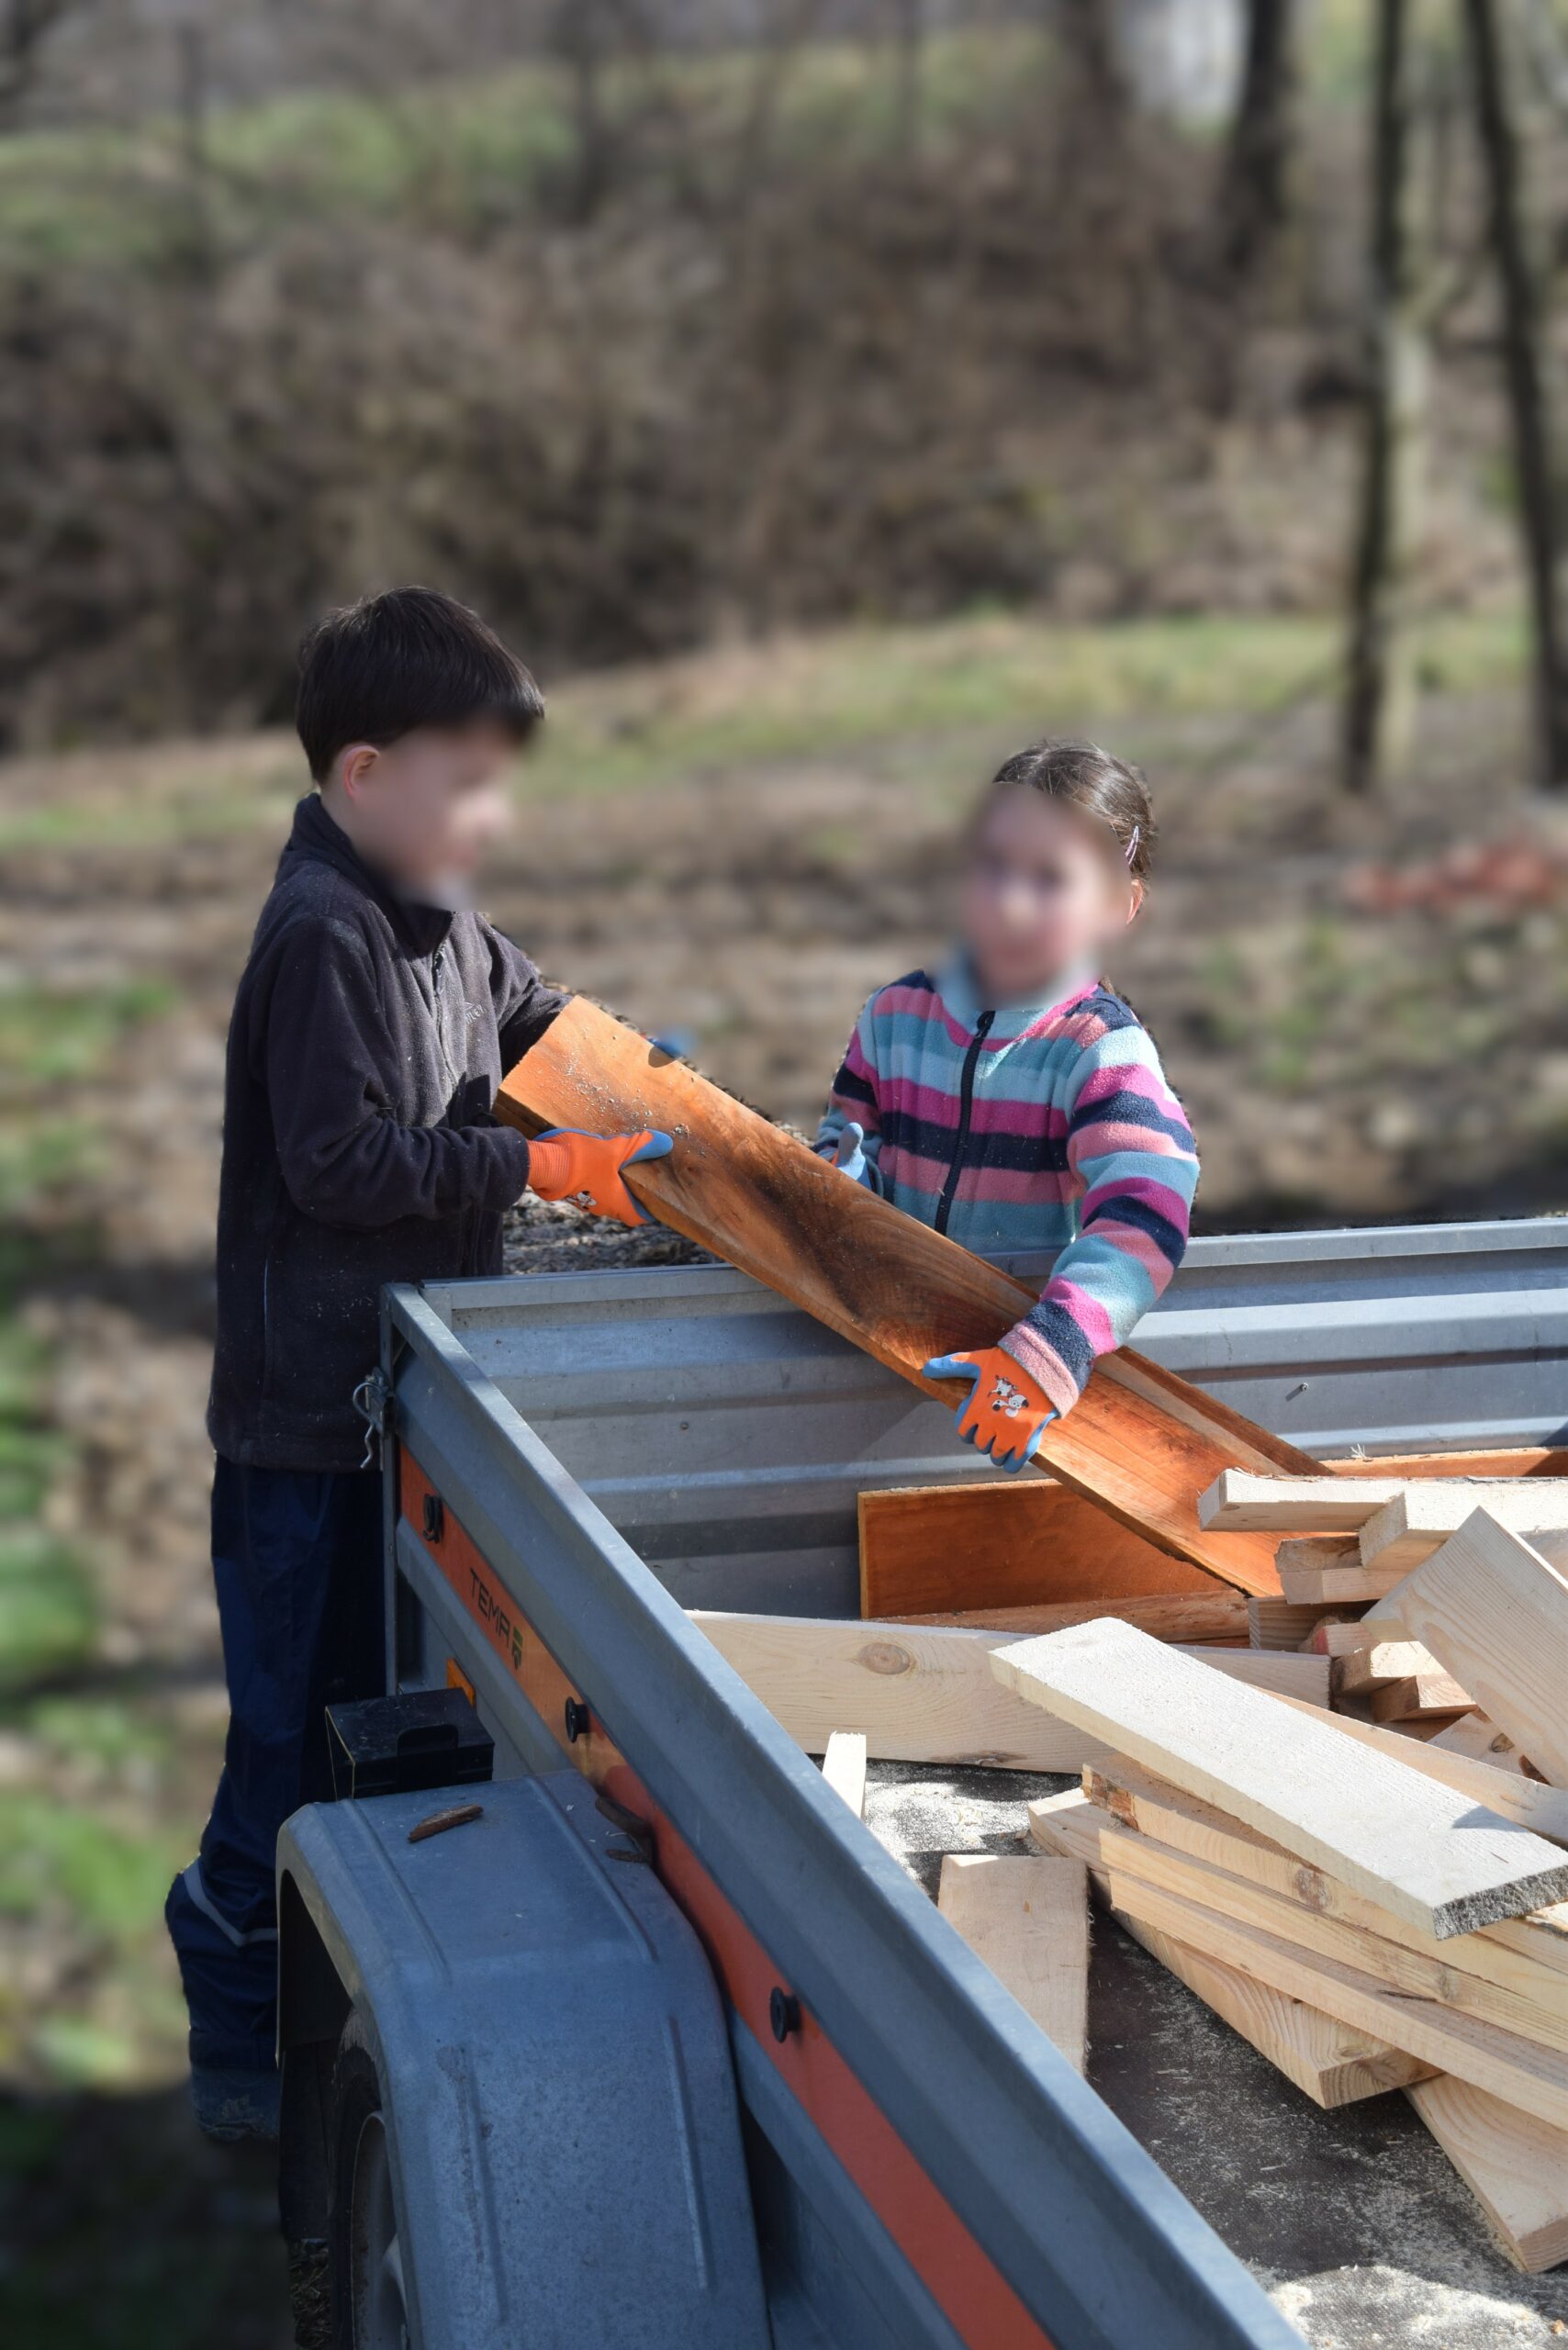
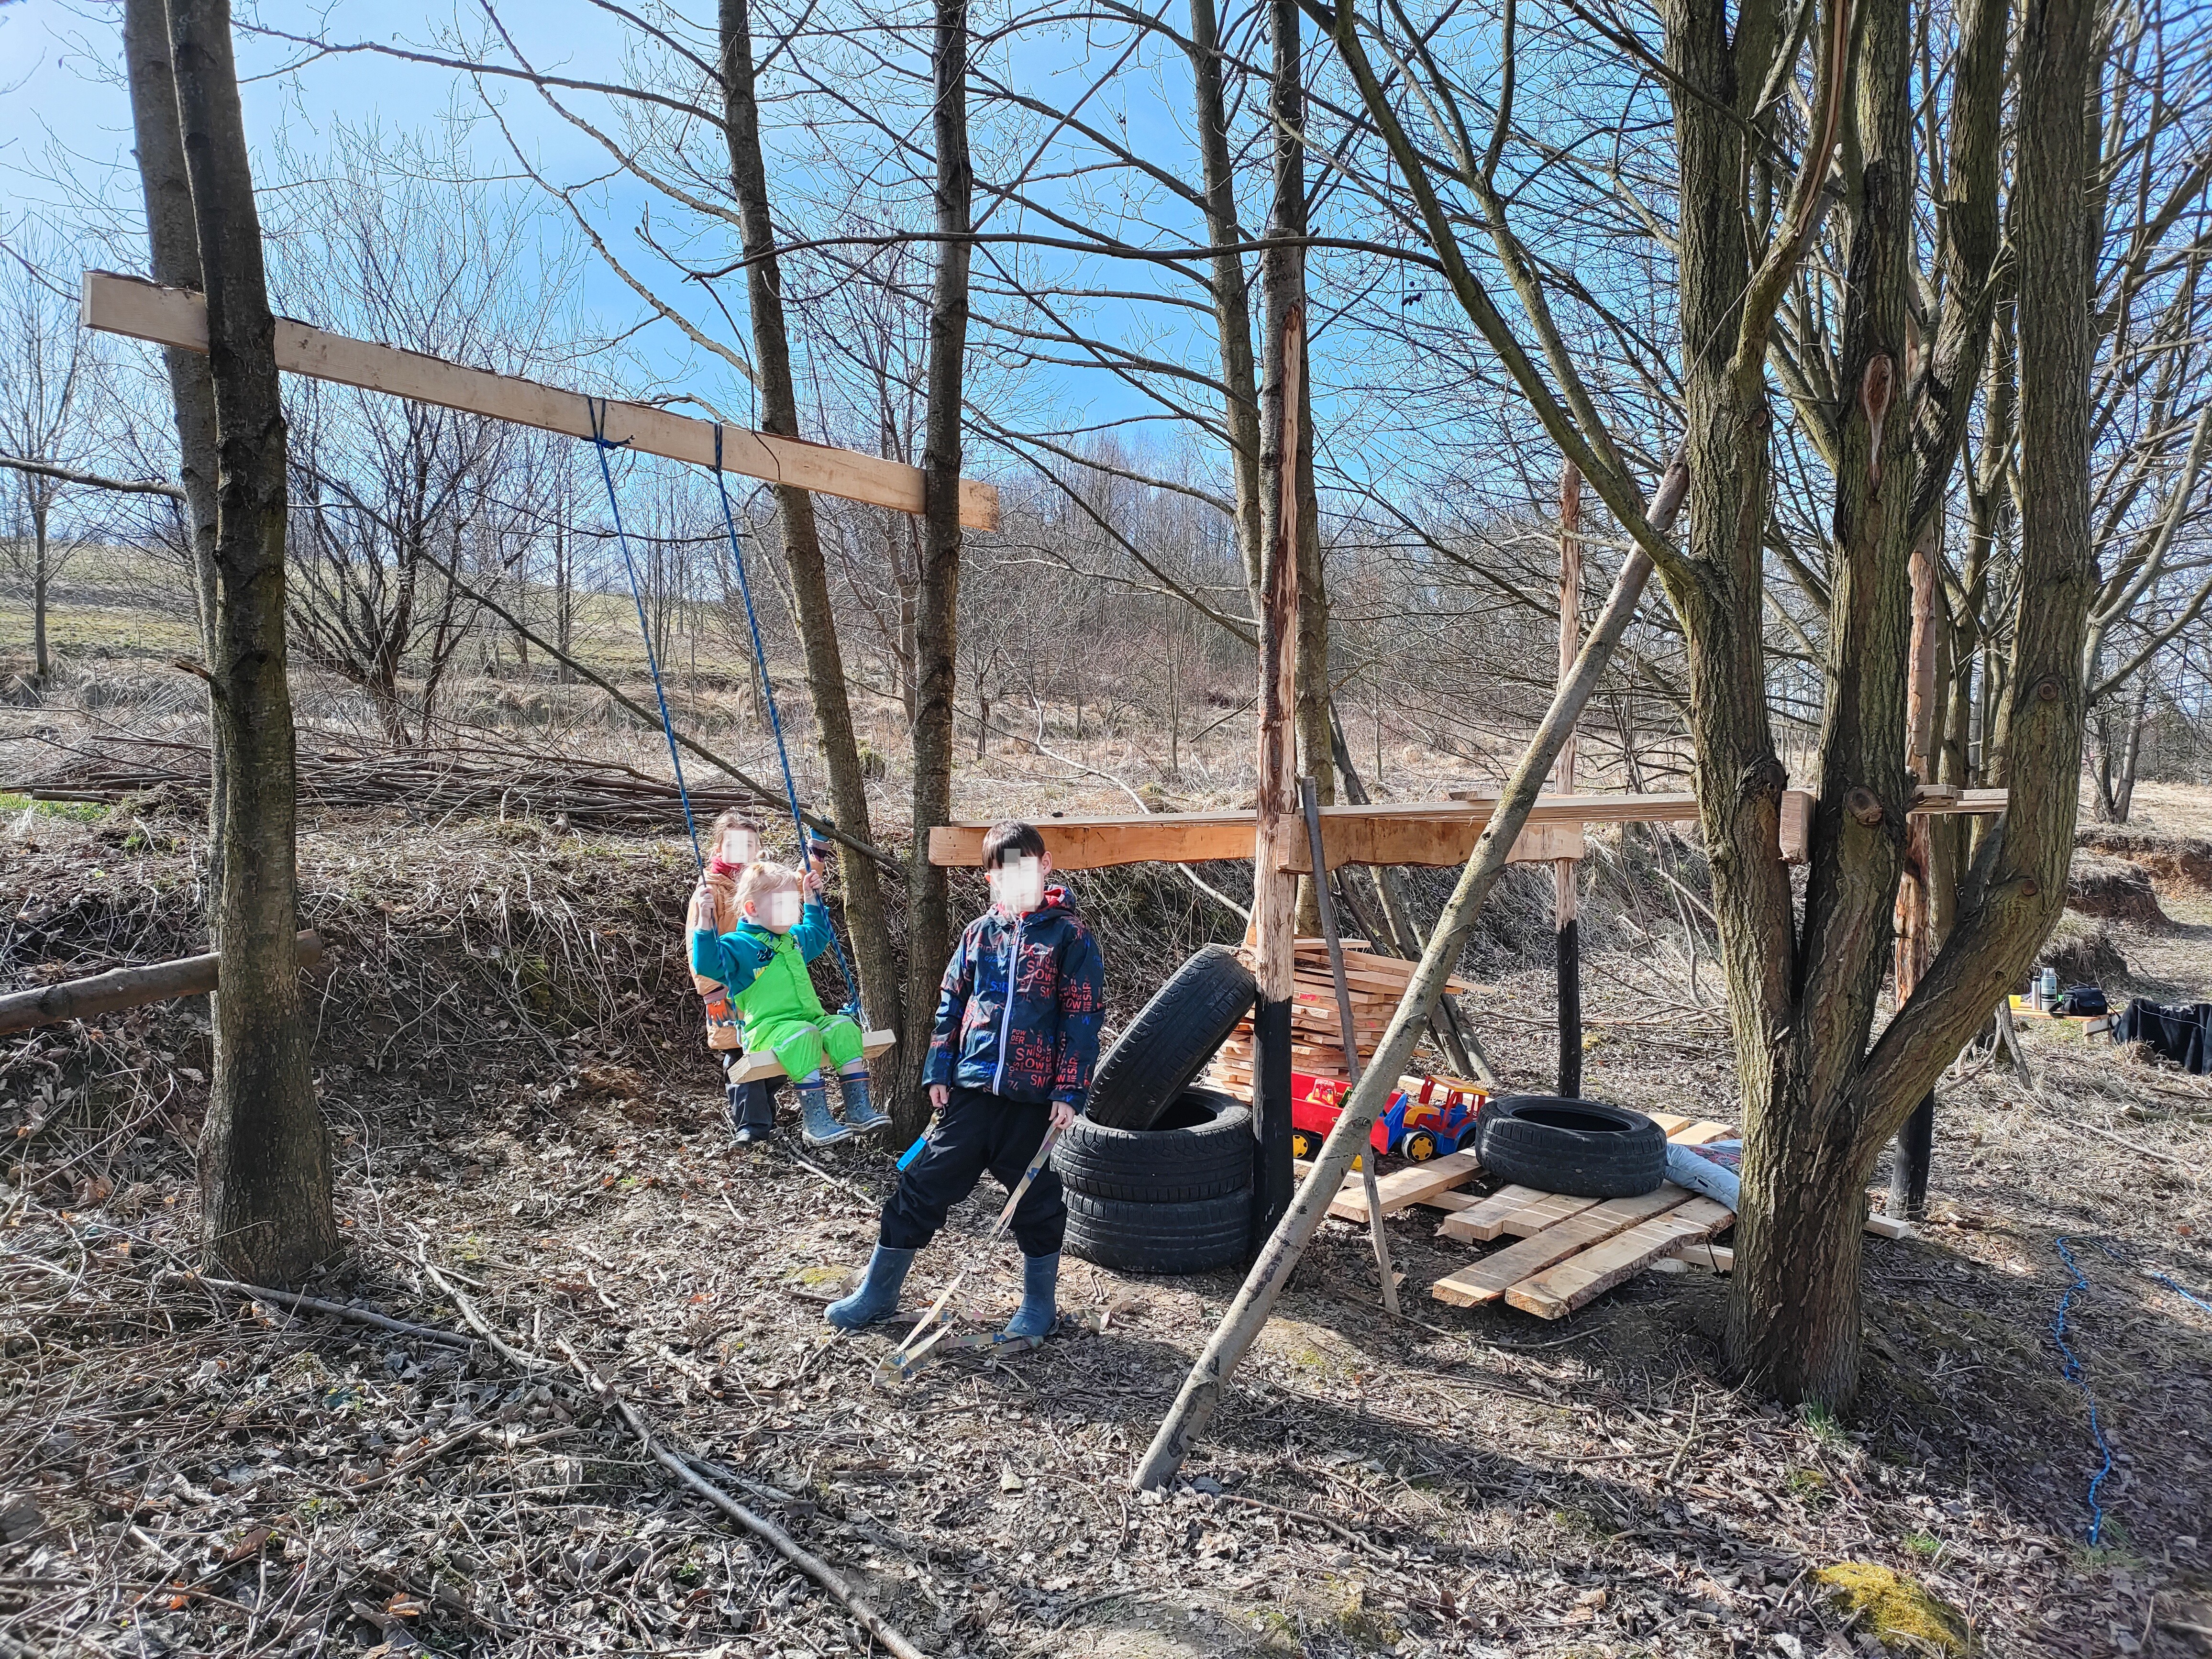
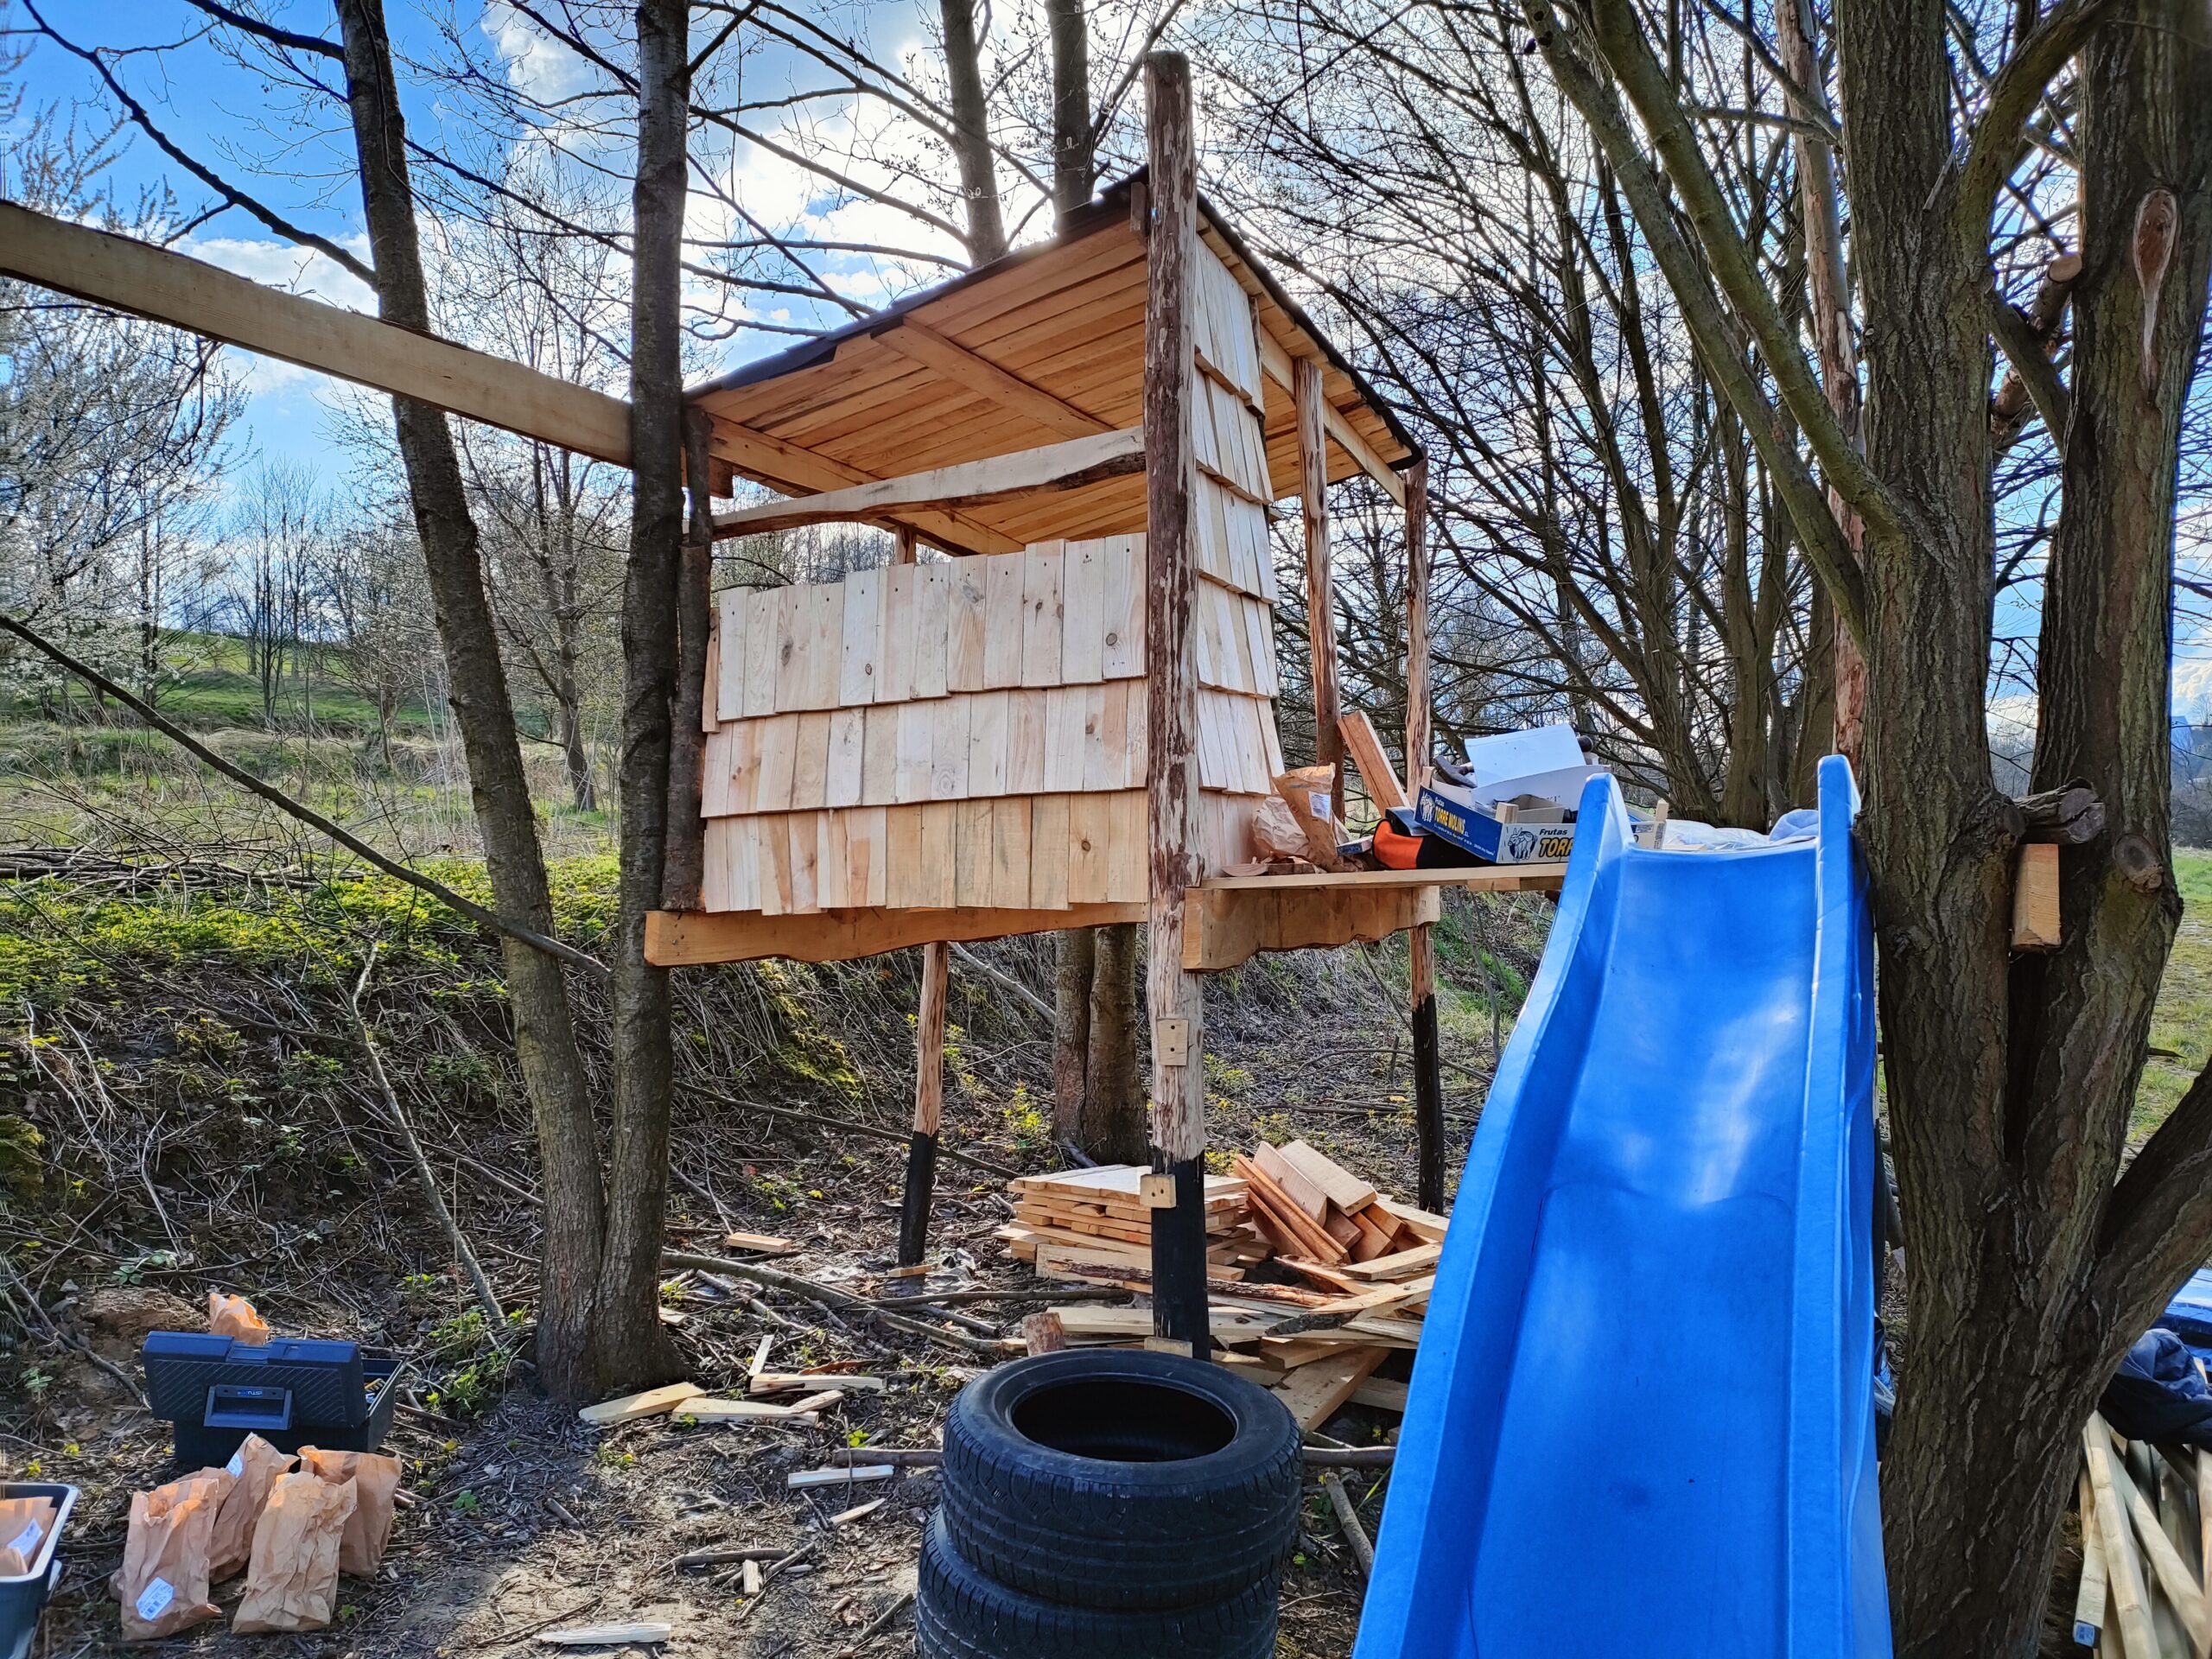
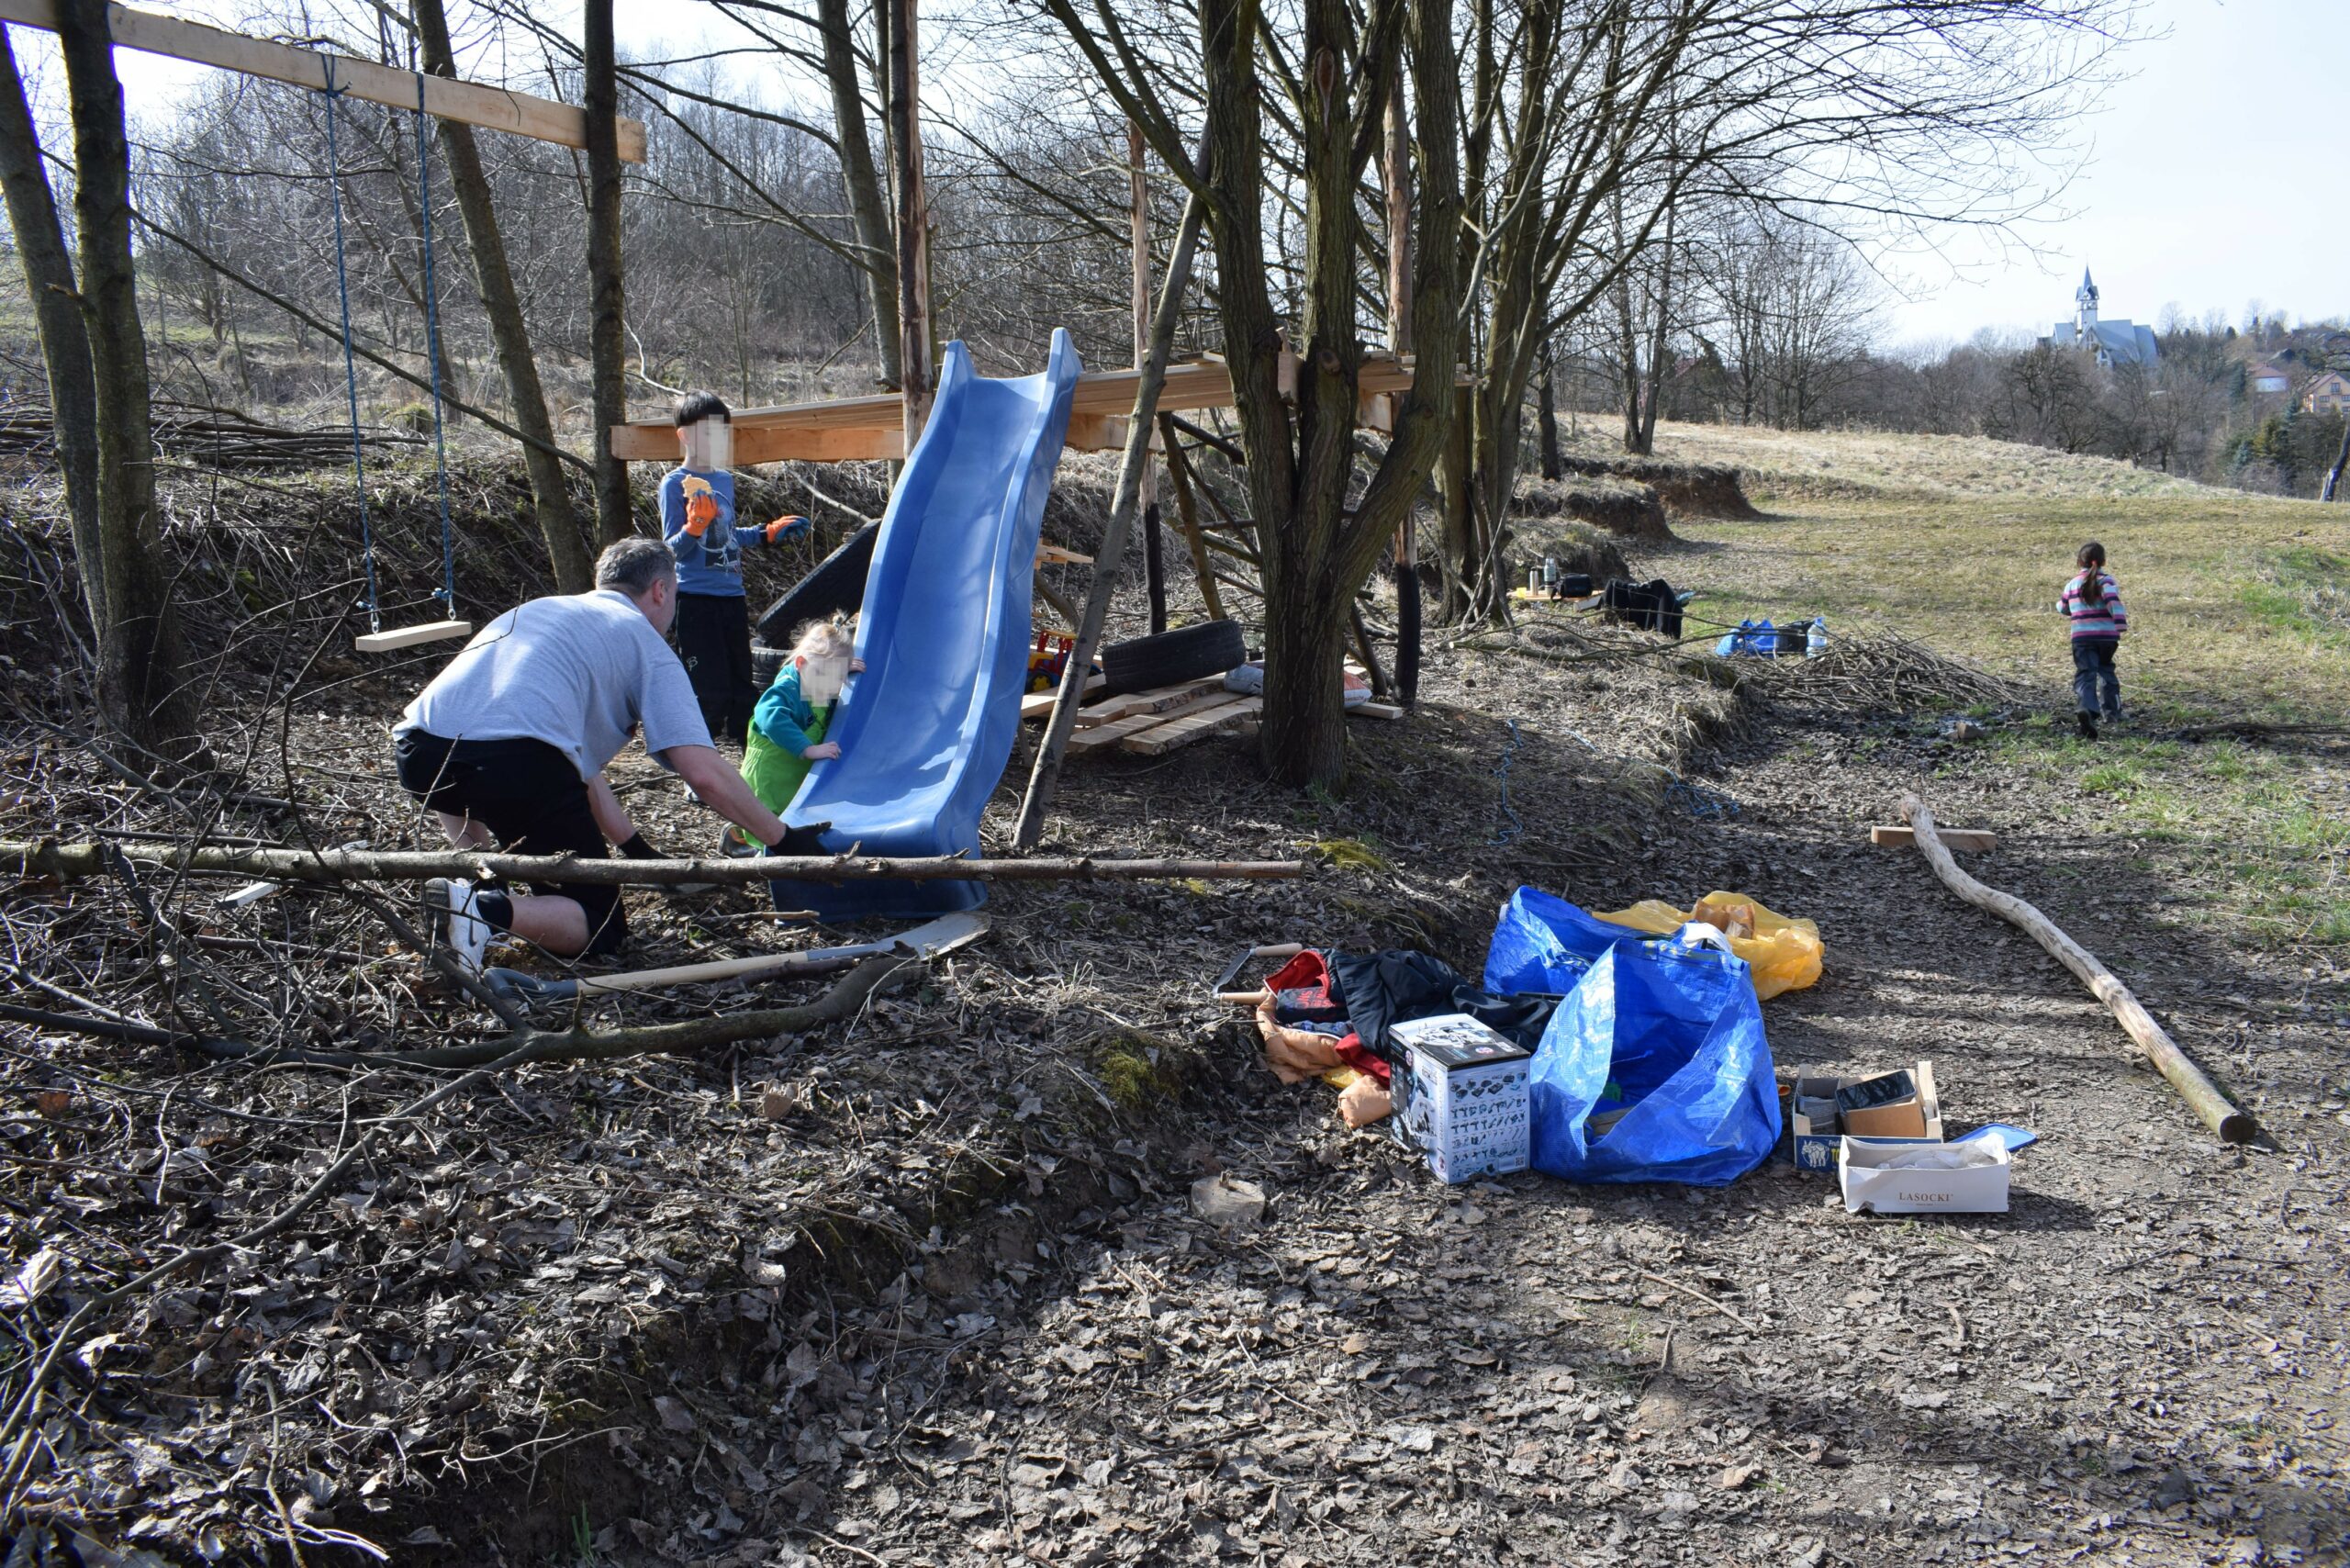
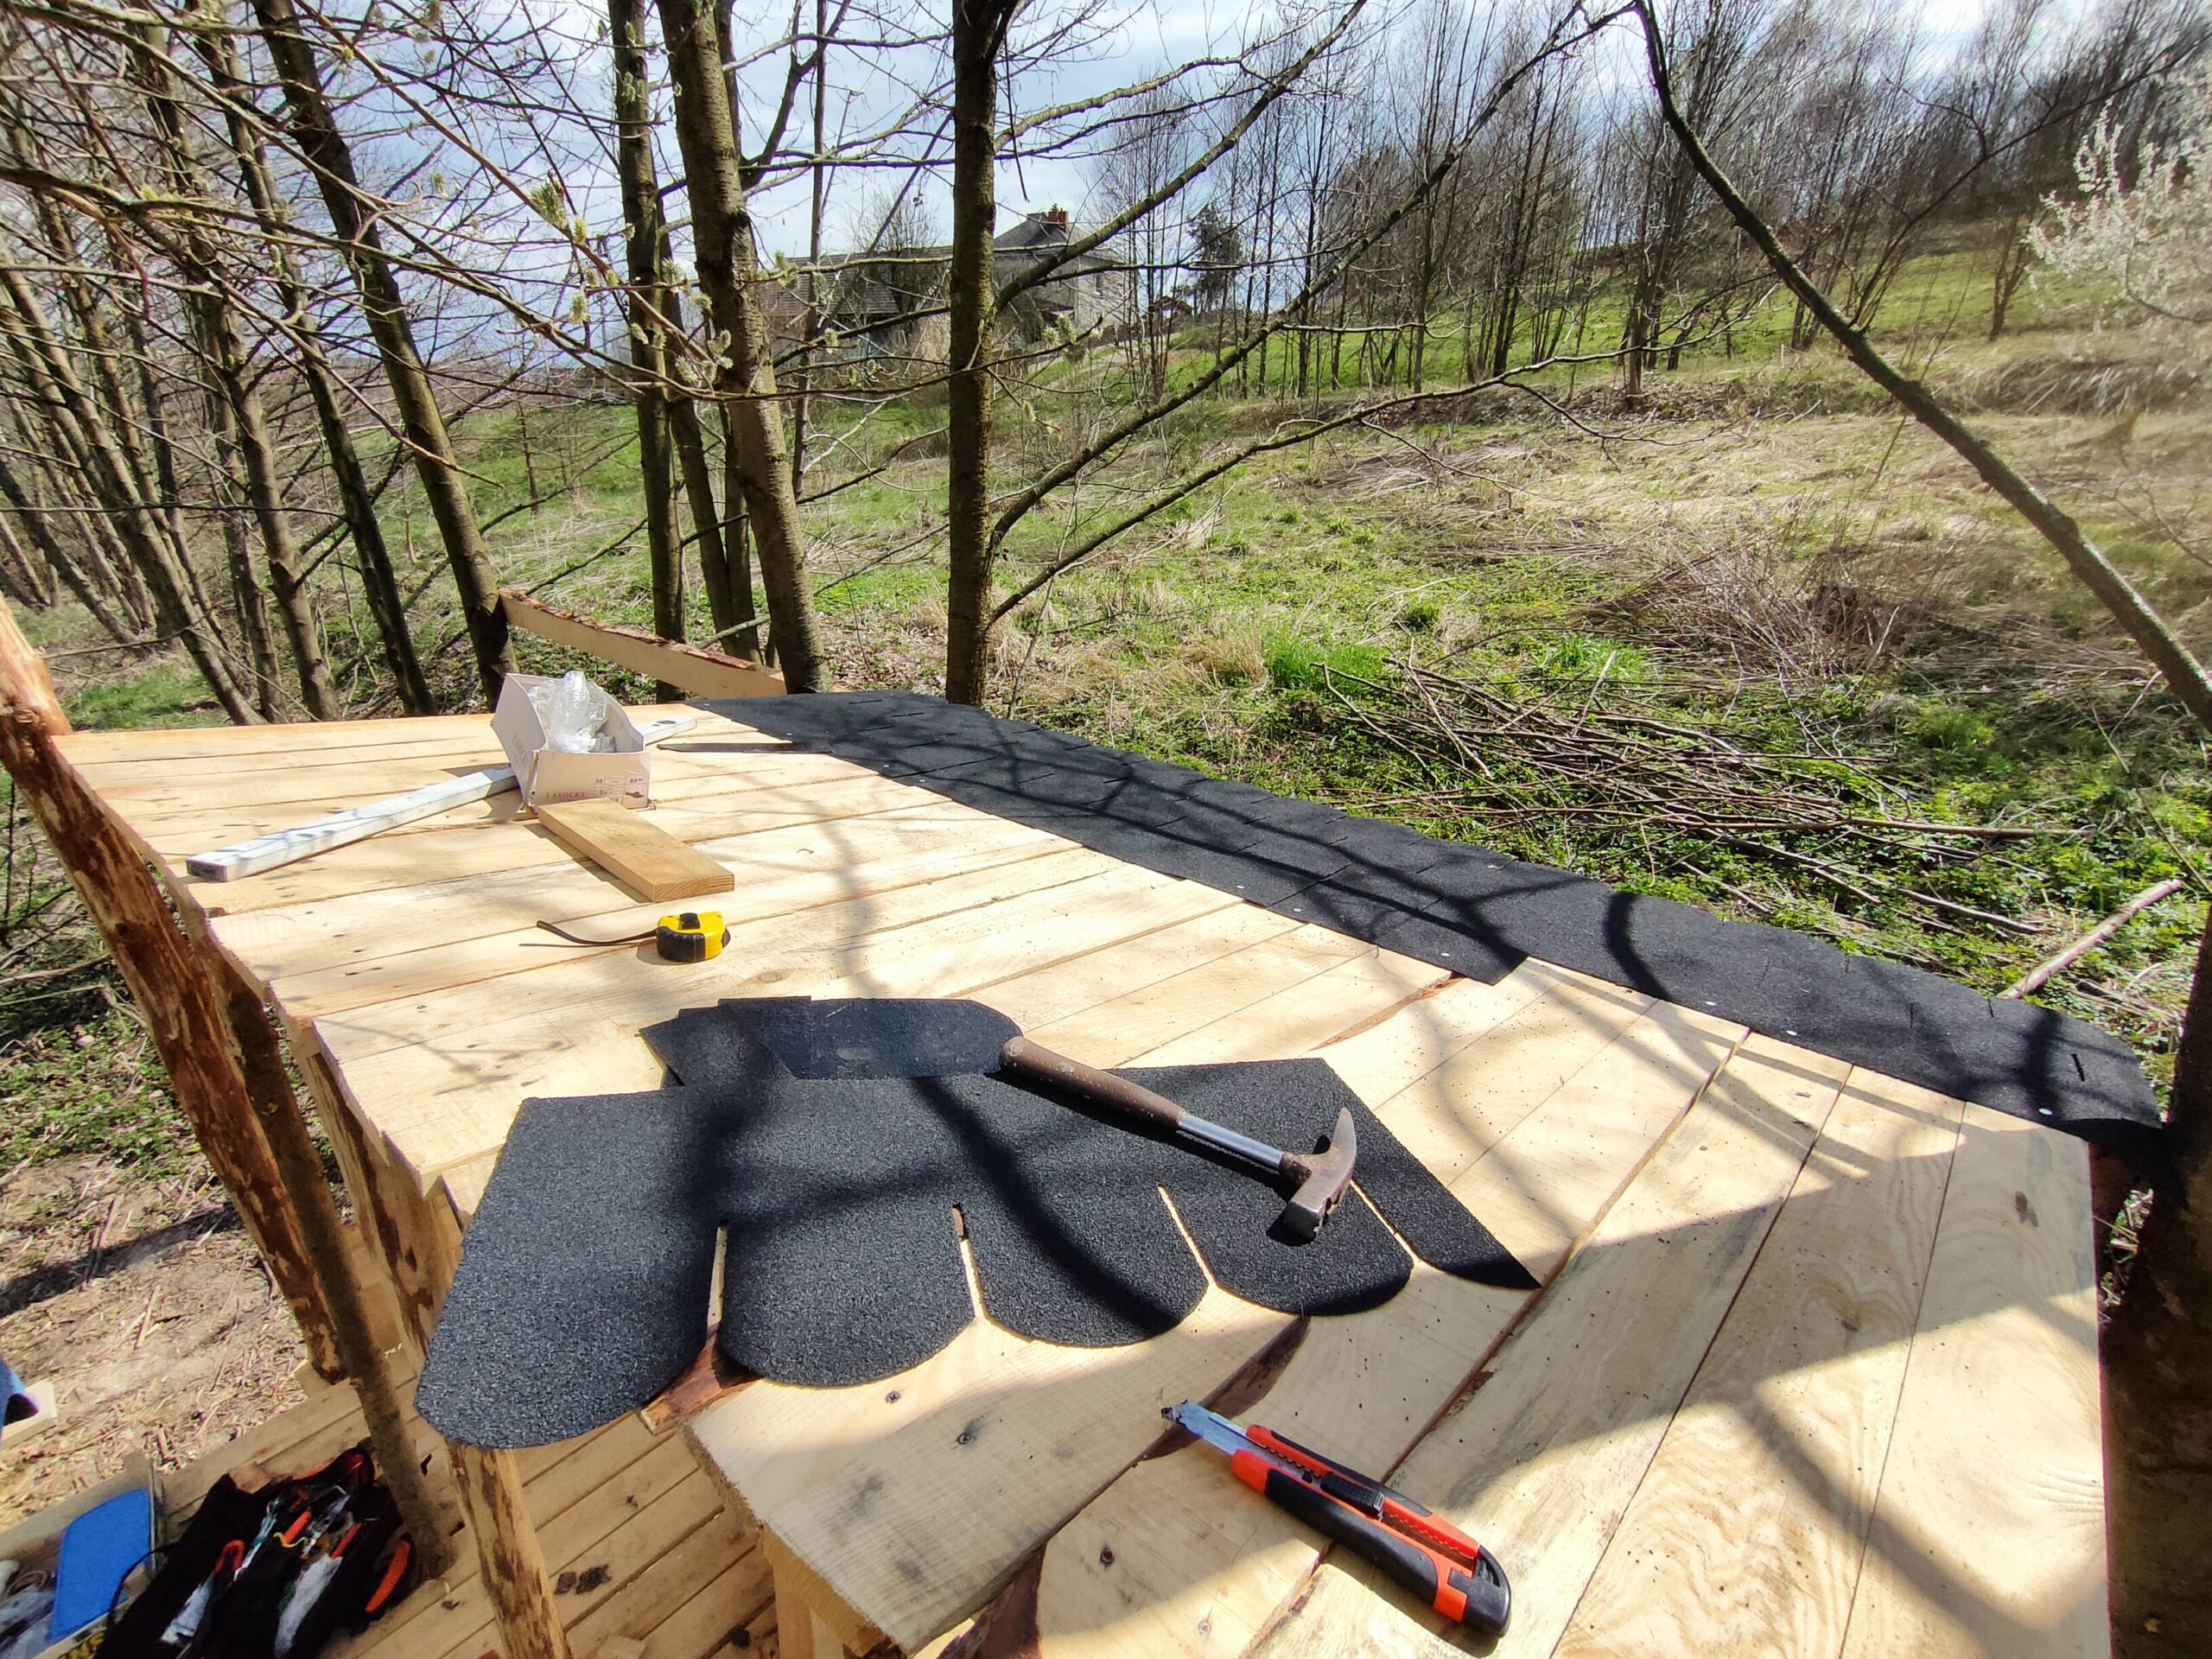
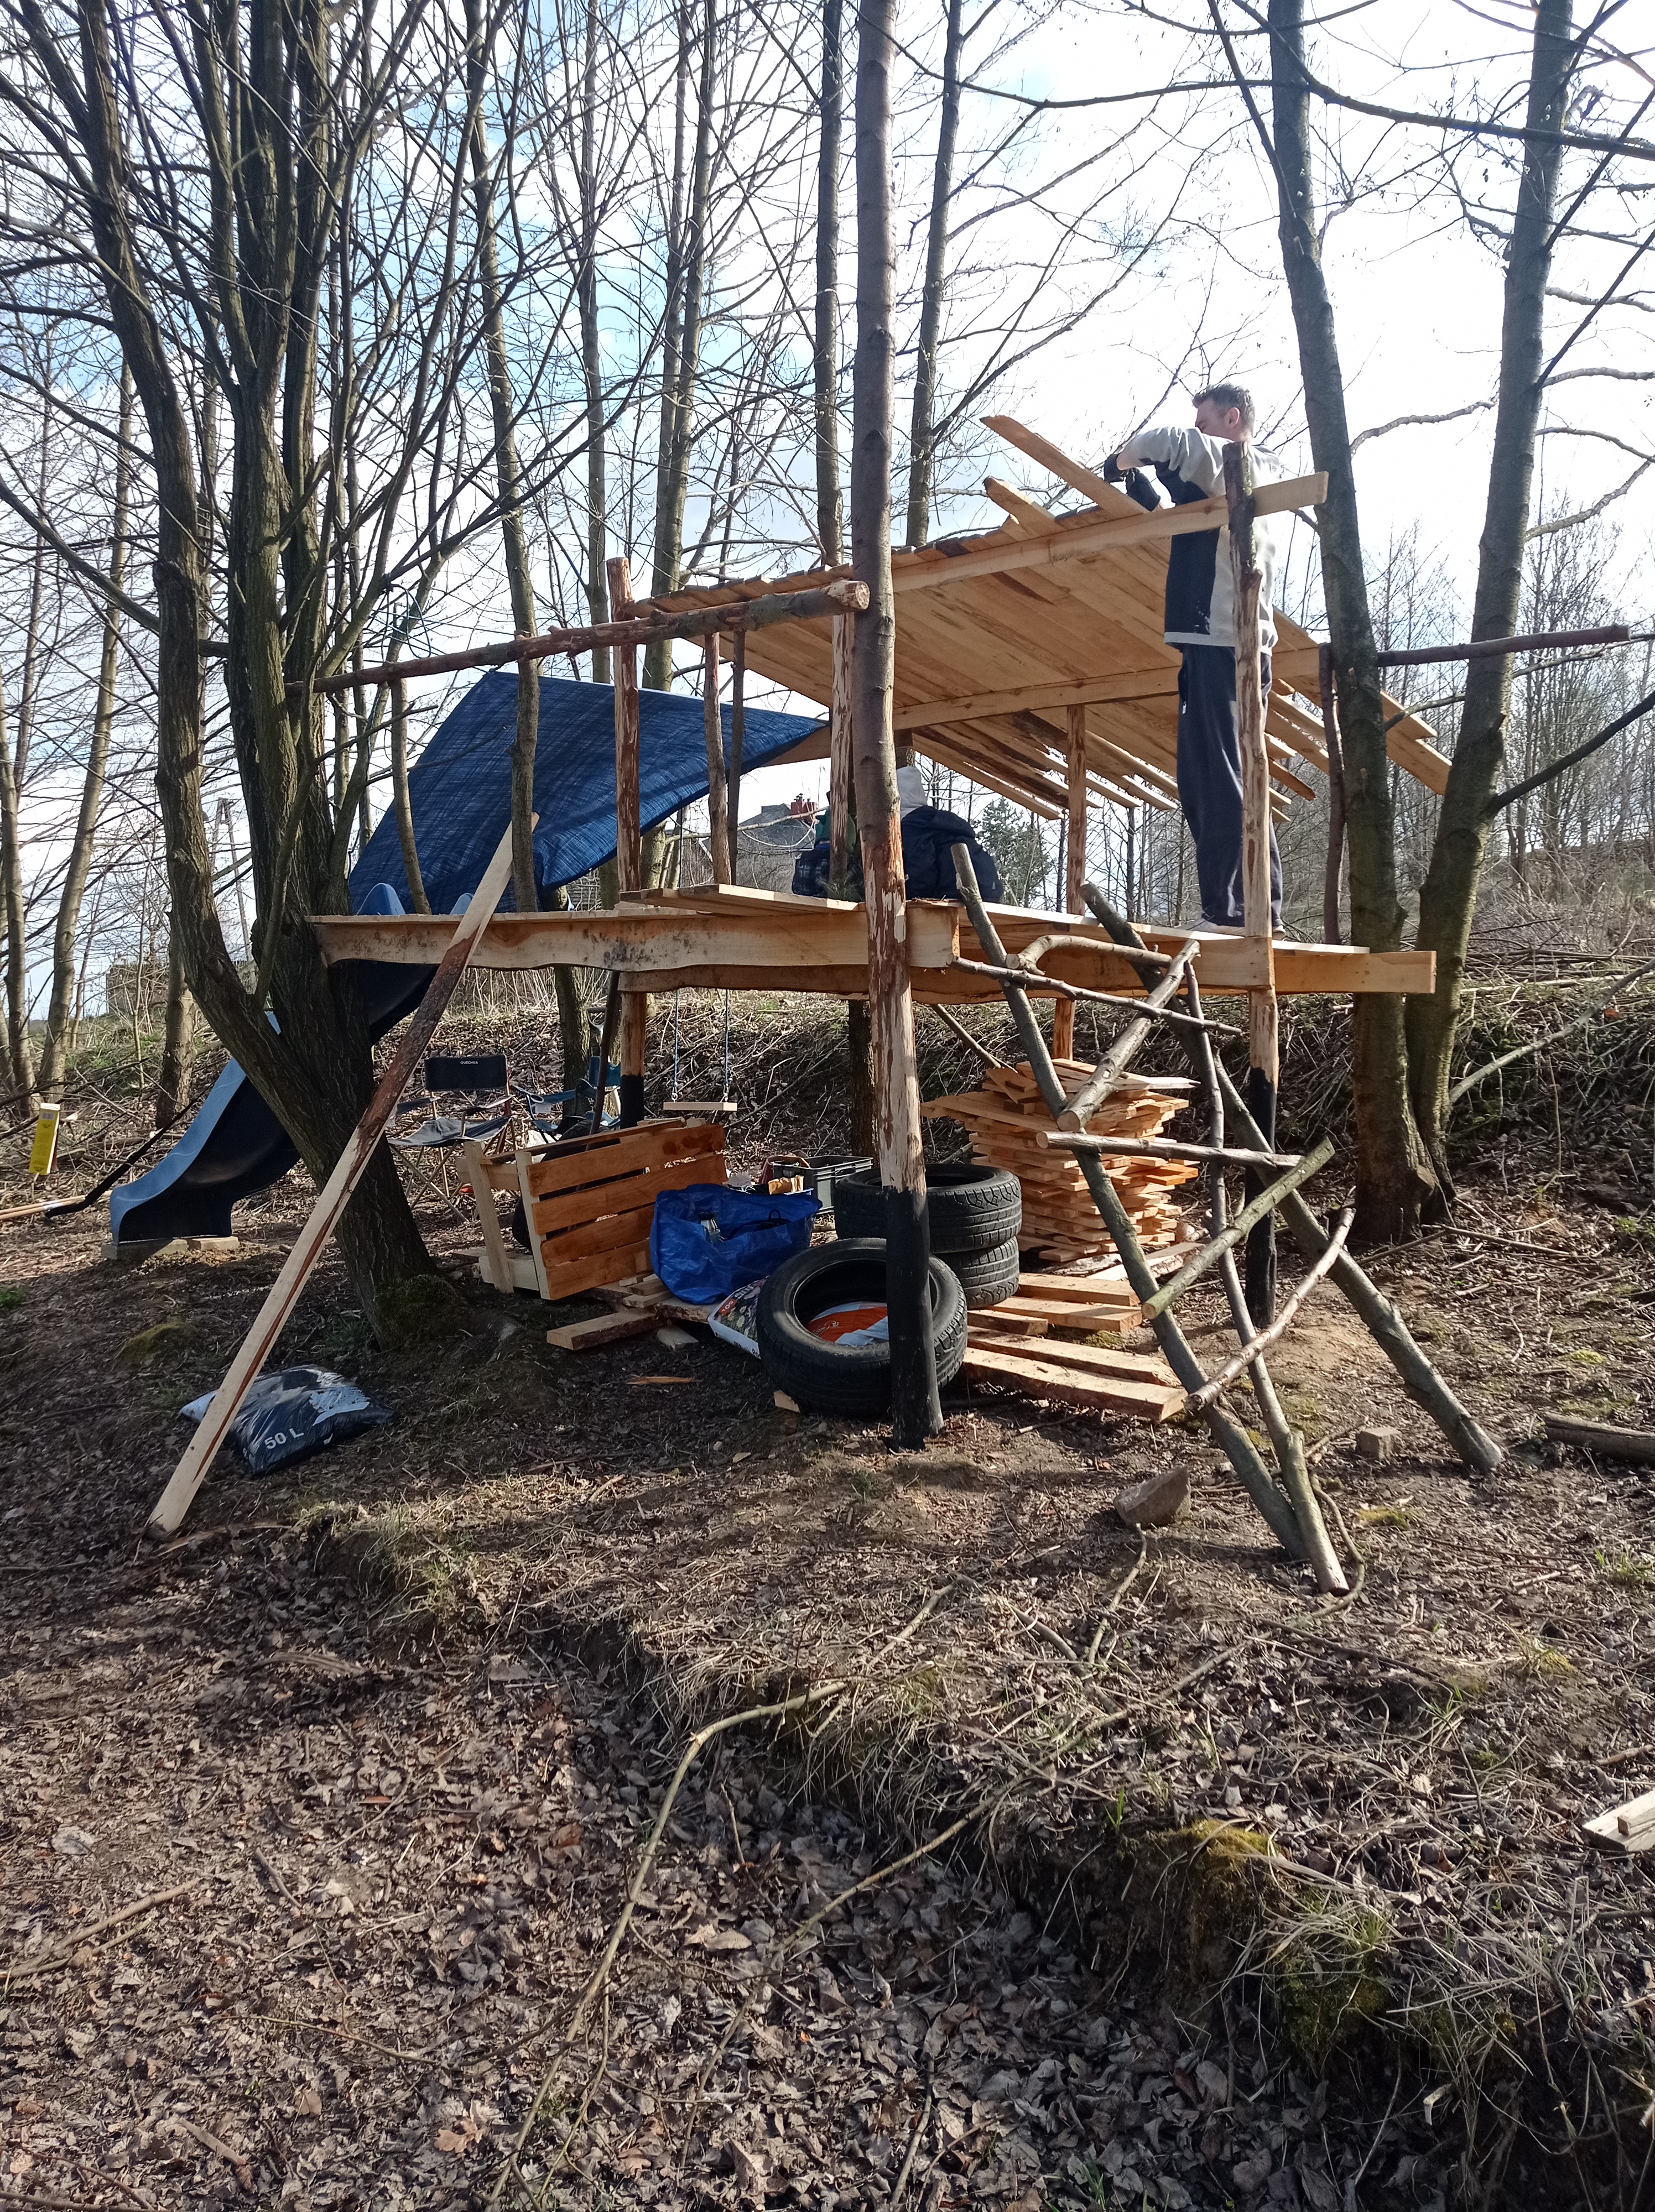
The treehouse’s support posts are debarked young trees – see how we cut down the trees and reused the wood and our guide to debarking a log step by step.
Our Plot Step by Step – The Whole Series
- Buying a plot with no power, water or access road
- Levelling the land with an excavator
- Our first cabin made of OSB boards
- A house for mason bees
- A treehouse for the kids (this post)
- A wind turbine for an off-grid plot – which one to choose
Treehouse – FAQ
What should you build a kids’ treehouse from?
We went for reclaimed materials: debarked young trees from our plot (the part going into the ground painted with anti-rot paint), three extra posts, offcut boards from euro-pallet production bought at a local sawmill, and shingles for the roof.
How do you choose trees for a treehouse?
We picked three trees growing so that a rectangular frame fitted neatly between them. Extra posts gave the structure stability.
Do you need a permit to cut down trees for the build?
In our case the young trees were small enough that no permit was needed. Rules depend on the tree’s age and trunk size – check local regulations before cutting.
Should a treehouse have a roof?
We think so – it gives shelter from rain. Over time we also added partial walls to block the wind.